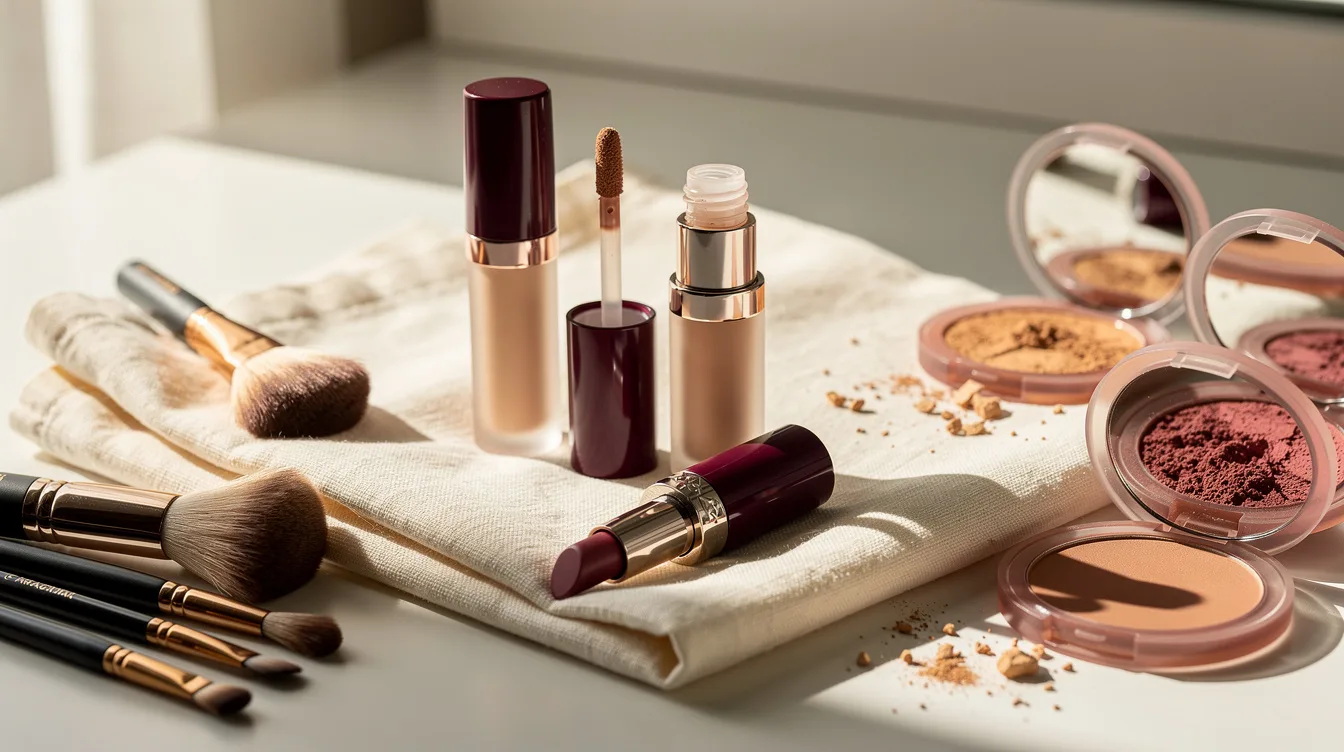
The under-eye concealer that looked smooth at 8 a.m. Can settle into every smile line by the second coffee. A tube around $16 may be a smart buy, but placement and prep matter far more than packing on coverage.
What you will find inside
- Use Less Product Where Darkness Is Deepest
- Choose A Flexible, Creamy Finish
- Match Your Skin Tone Before Brightening
- Correct Discoloration In A Sheer Layer First
- Prep Lightly, Then Let It Settle
- Tap Onto Shadows And Powder Only The Crease
Use Less Product Where Darkness Is Deepest
Swiping full coverage from lash line to cheek gives pigment too many places to collect, especially where skin is thinner and moves constantly. Dot a pinhead amount of Maybelline Instant Age Rewind Eraser Multi-Use Concealer at the inner corner, tear-trough shadow, and outer darkness, then reassess before adding more.
A half-pea amount is usually plenty for both eyes, and a medium-buildable formula looks more believable than a mask. Concealer is an optical tool, so it can soften the look of discoloration without changing true hollowing or skin texture.
Choose A Flexible, Creamy Finish
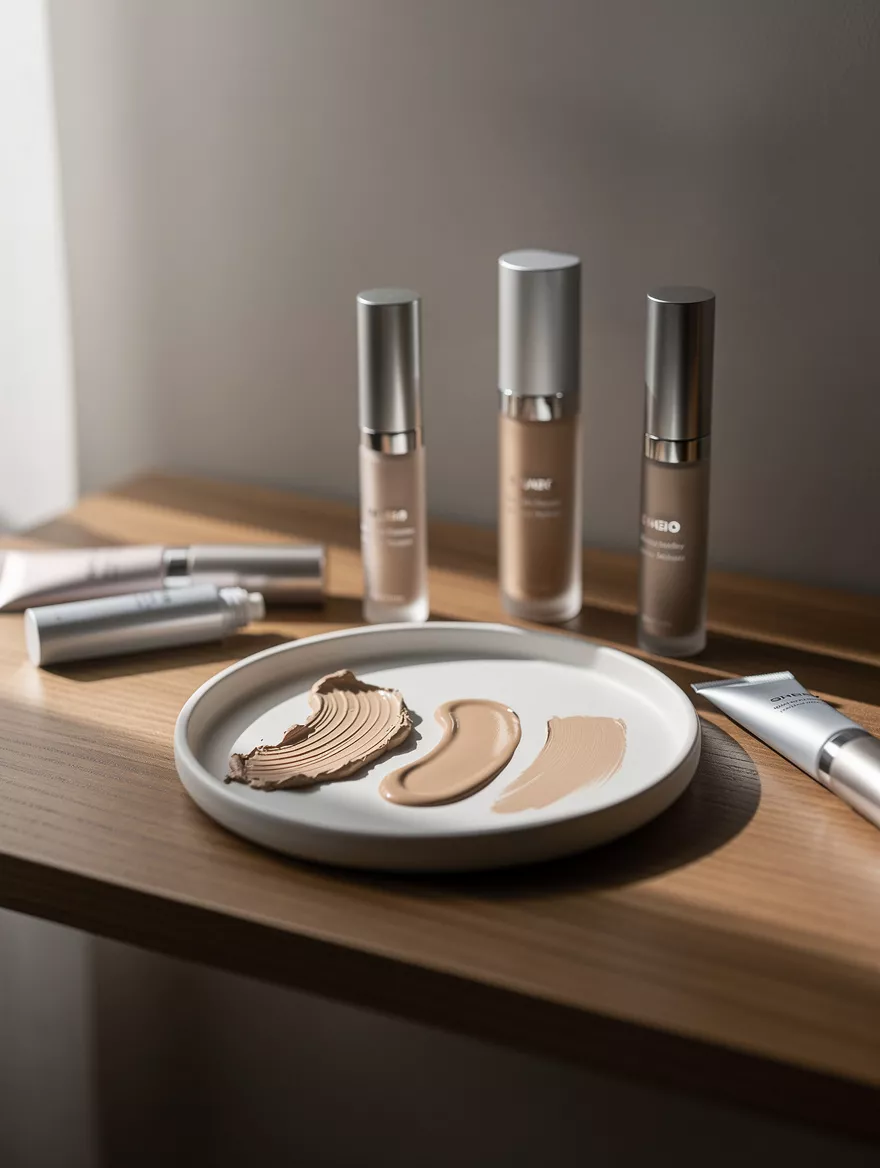
Fast-setting matte formulas can make a dry under-eye surface look even drier, particularly when volatile solvents and strong film formers leave behind a tight film. I’d choose a creamy, natural-finish option such as NARS Radiant Creamy Concealer, typically around $32, over a formula marketed mainly for extreme wear.
Let the finish do some of the visual work instead of demanding opaque coverage. A slight skin-like sheen tends to keep expression lines from becoming the main event.
Match Your Skin Tone Before Brightening
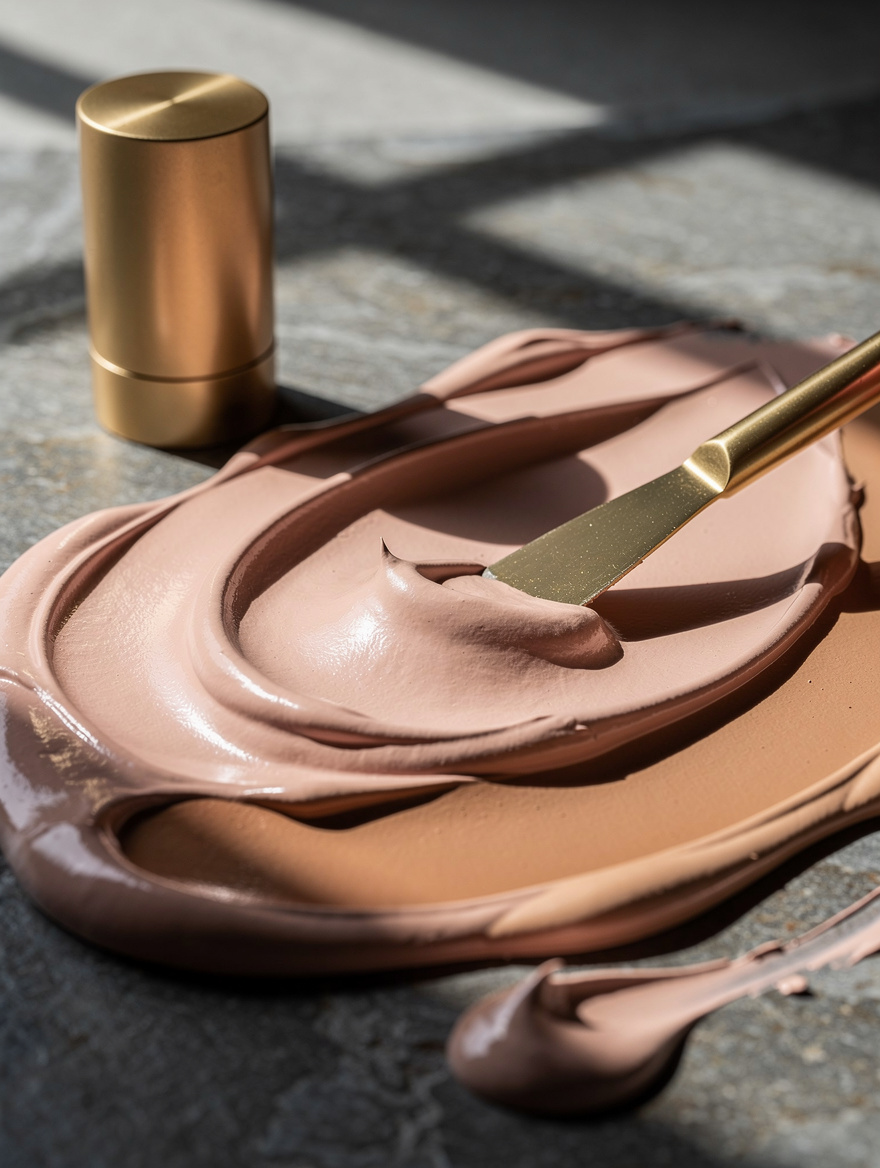
A very pale “brightening triangle” often turns darkness gray and can spotlight puffiness or a hollow tear trough. Choose NYX Bare With Me Concealer Serum close to your skin tone, then use no more than one-half to one shade lighter at the inner corner if you truly need lift.
This is a small adjustment with a large payoff in daylight. The goal is to make the under-eye look rested, not visibly lighter than the rest of the face.
Correct Discoloration In A Sheer Layer First
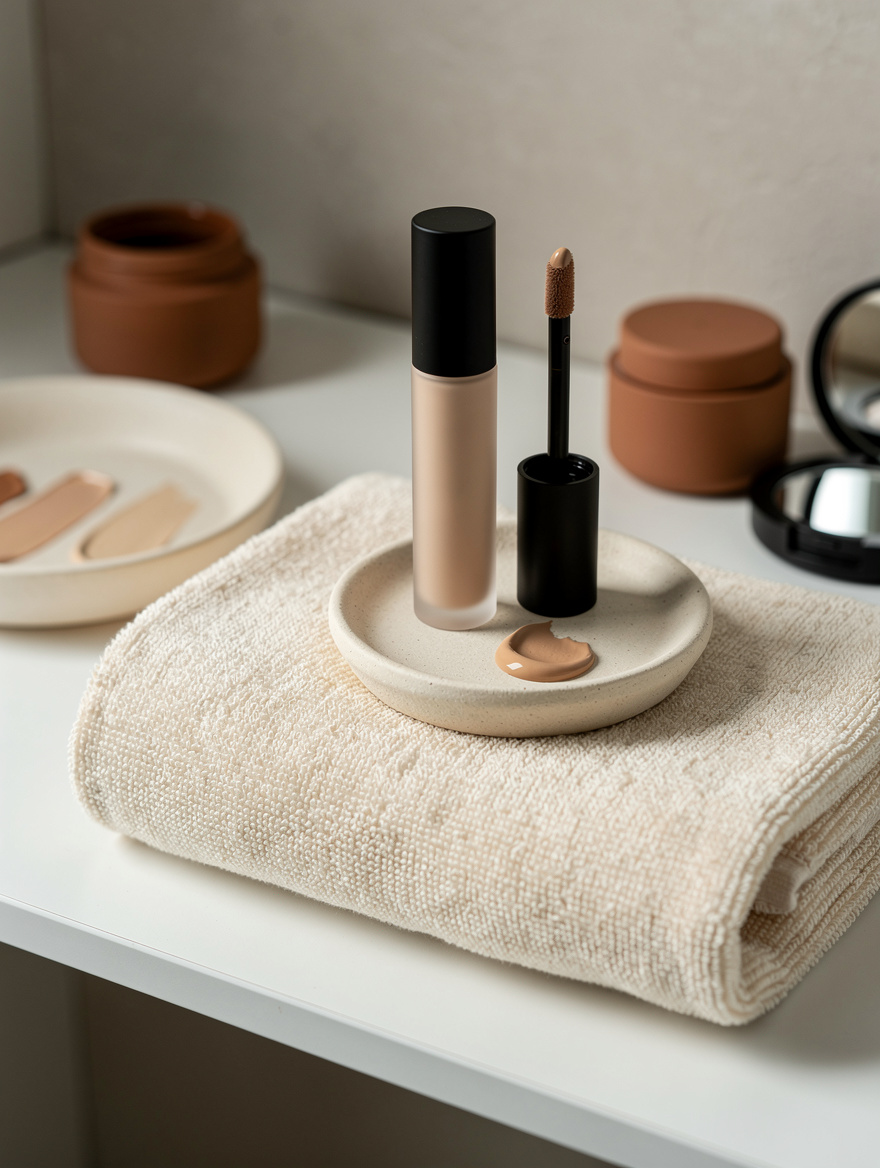
When blue, purple, or brown discoloration shows through, piling beige concealer on top usually creates the very texture you were trying to hide. A sheer peach corrector can neutralize blue-purple tones on light to medium skin, while deeper complexions may prefer a deeper peach or orange tone.
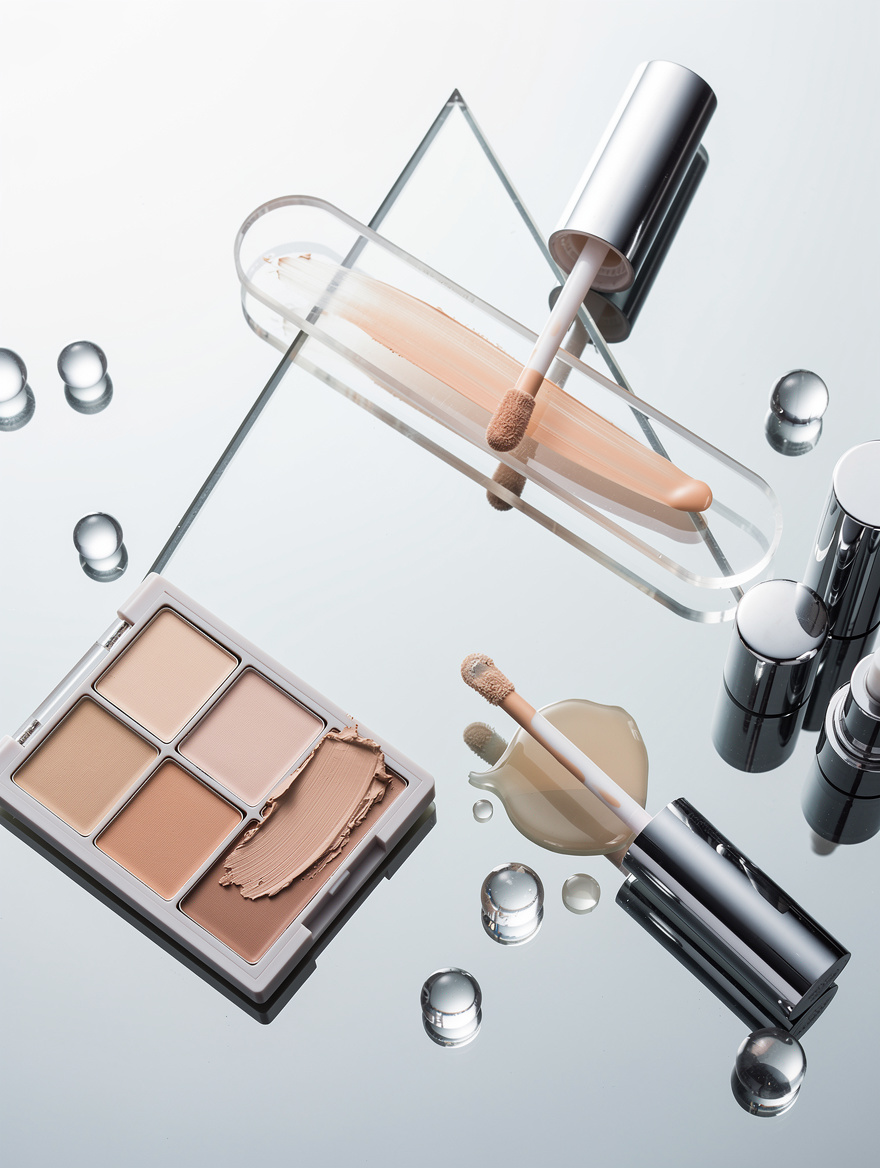
Bobbi Brown Corrector Stick, often about $35, is a useful example because you can apply it only where discoloration is strongest. Follow with the thinnest possible layer of your skin-tone concealer, not a second heavy coat.
Prep Lightly, Then Let It Settle
Dry skin makes concealer skip and catch, while a thick layer of eye cream can leave pigment sliding around. Apply a light hydrating layer, wait roughly 3 to 10 minutes, and use a formula with barrier-friendly ingredients such as ceramides or hyaluronic acid if your under-eyes feel tight.
CeraVe Eye Repair Cream, typically around $15, is a practical lightweight option for this step. If you use a retinoid near the eye area, start only 2 to 3 nights weekly and keep it away from the lash line, since irritation can make makeup look worse temporarily.
Tap Onto Shadows And Powder Only The Crease
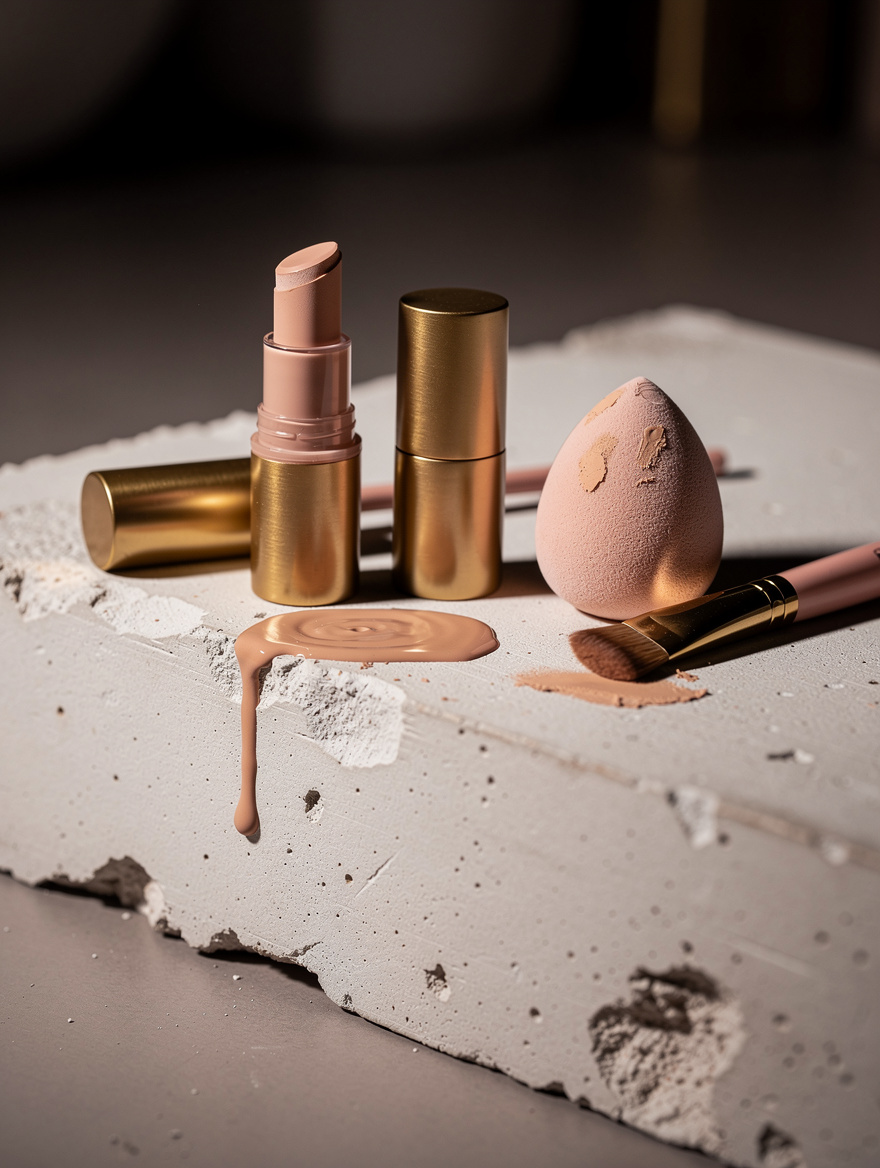
Rubbing with a sponge can lift skincare and deposit too much pigment, while bright product placed on the high point of an eye bag can make that projection more visible. Tap with your ring finger or a small soft brush, and put concealer on the shadow immediately beneath the bag rather than on top of it.
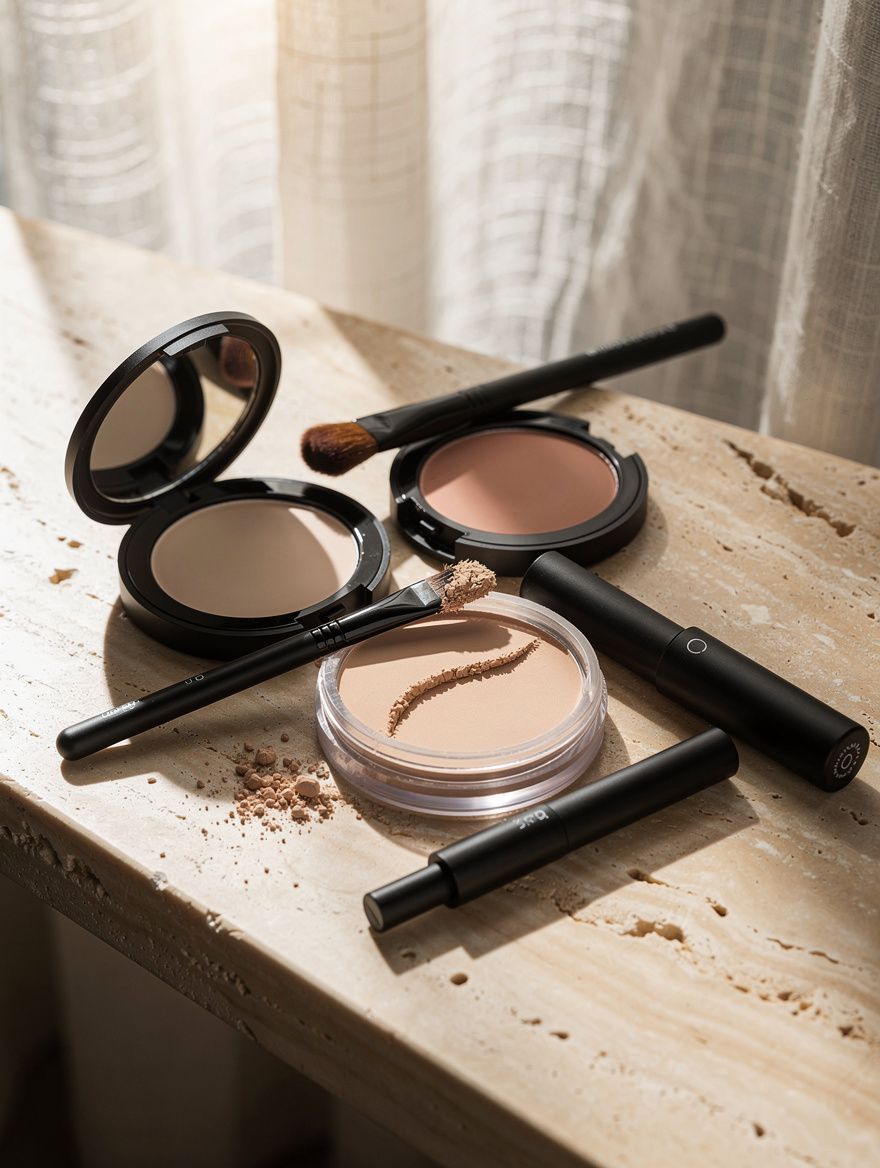
Use Laura Mercier Translucent Loose Setting Powder, typically around $43, only if you crease, pressing a nearly invisible amount into the mobile crease instead of baking the whole under-eye. A well-tolerated SPF 30 daytime product also supports the broader skin-care side of periocular texture, though sunscreen is not a concealer substitute.
Start tomorrow with one change: use half your usual concealer, concentrated at the inner corner and the shadow below any puffiness. See a dermatologist for an area that bleeds, changes shape, or does not heal, and consider professional evaluation for persistent hollowness or pigment that makeup cannot comfortably disguise.